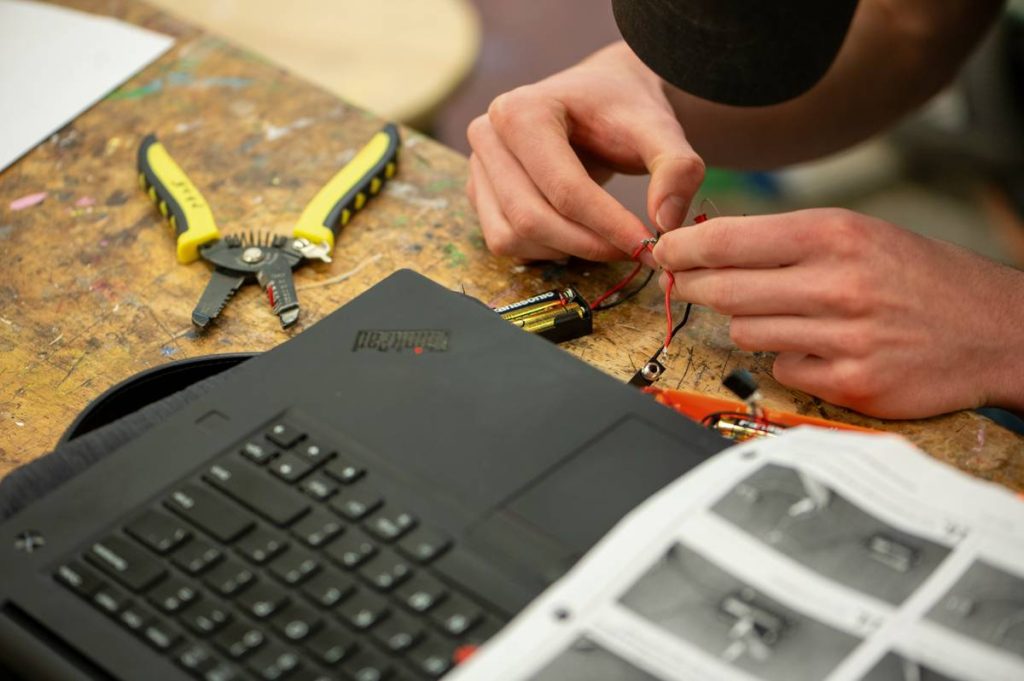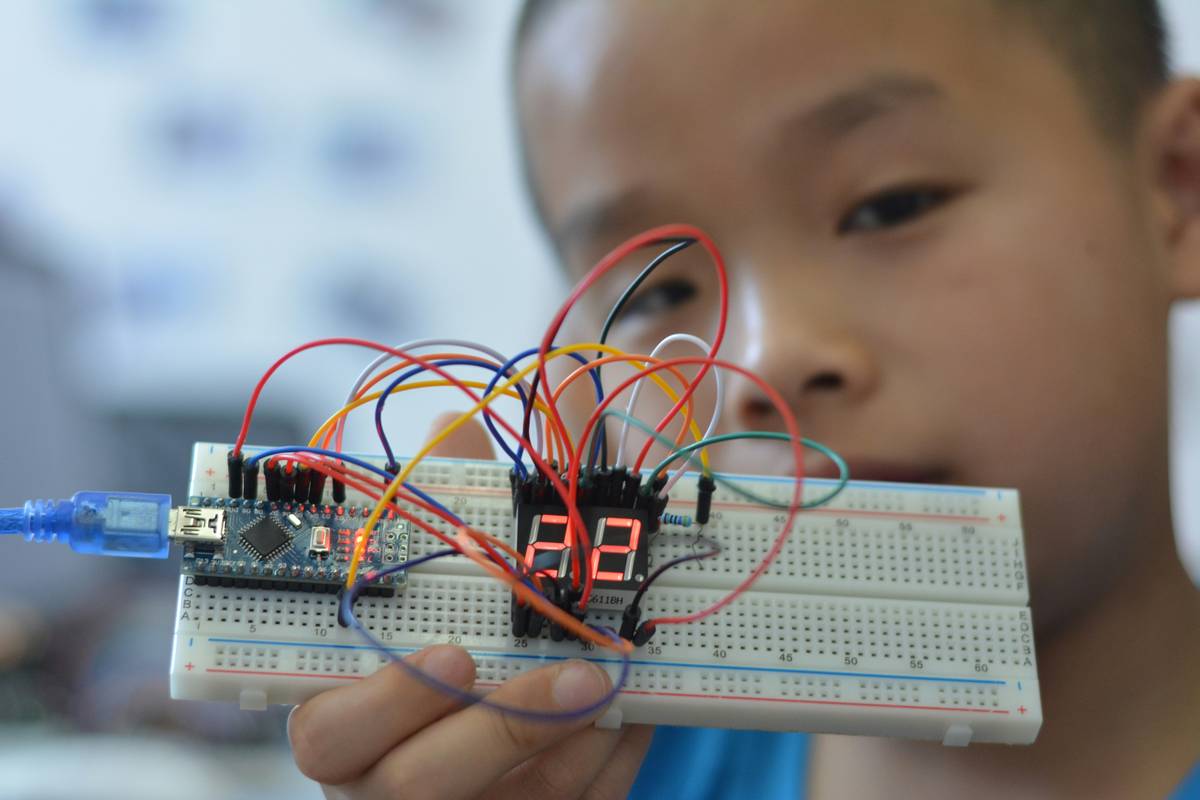
Ever stared at a blinking LED on your Arduino Uno, convinced your code was perfect—only to discover, three hours later, that you’d forgotten to set the pin mode to OUTPUT? Yeah. I’ve been there. Twice. The second time involved a breadboard where I’d accidentally bridged two power rails with solder flux residue (yes, really)—and spent an entire weekend debugging “ghost” voltage drops. That’s why this guide isn’t just another list of “cool Arduino projects.” It’s a battle-tested roadmap written *by* someone who’s fried three ATmega328Ps trying to interface a cheap HC-05 Bluetooth module without level-shifting. If you’re an IT student juggling algorithms, OS theory, and DevOps labs—but craving hands-on electronics confidence—these 7 arduino projects for it students deliver real-world relevance, not toy demos.
Table of Contents
- Why Arduino Projects for IT Students Bridge the Theory-Practice Gap
- Your No-Fluff Step-by-Step Launch Plan
- 5 Hard-Won Best Practices (That Most Tutorials Skip)
- Real Results: From Campus Labs to Internship Portfolios
- FAQs: Debugging Your Career Path
Why Arduino Projects for IT Students Bridge the Theory-Practice Gap
IT curricula increasingly emphasize systems thinking—not just software, but how hardware, firmware, and network layers interact. Yet most students graduate with zero exposure to low-level I/O abstractions, interrupt handling, or real-time constraints. According to the National Institute of Standards and Technology (NIST), over 68% of entry-level embedded security roles require demonstrated competency in microcontroller interfacing—a skill rarely assessed in standard coursework. That gap hits hard during internships: one survey of 142 IT interns at U.S. tech firms found that 41% felt unprepared to troubleshoot sensor integration in IoT test environments. Arduino isn’t just about blinking lights; it’s your first encounter with memory-mapped registers, clock domains, and physical layer latency—all concepts that echo in cloud infrastructure monitoring and cybersecurity device hardening.

This tangible foundation builds E-E-A-T credibility fast. When you document a project like an ESP32-based campus Wi-Fi scanner that logs SSID strength to Firebase—and explain *why* you chose MQTT over HTTP in your README—you’re demonstrating expertise far beyond syllabus checklists.
Your No-Fluff Step-by-Step Launch Plan
Step 1: Start With Hardware, Not Code
Before touching the IDE: sketch your circuit on paper. Identify VCC, GND, signal lines, and pull-up/down needs. This avoids the classic trap of assuming all sensors use 5V logic (they don’t—many are 3.3V only). I once bricked a BME280 by connecting it directly to 5V. Lesson learned: always cross-check datasheets.
Step 2: Adopt the “Blink-Then-Break” Method
Write minimal working code *first*: blink one LED. Then add *one* new component or feature. Test after each addition. Resist the urge to copy-paste entire libraries. Understand what Wire.begin() actually does before wiring your first I²C device.
Step 3: Log Like Your GPA Depends on It
Use Serial.print() statements—not just for errors, but for state verification. Print sensor raw values *before* calibration math. Print timer durations *after* critical sections. This habit prevents “it compiled, so it must work” syndrome.
5 Hard-Won Best Practices (That Most Tutorials Skip)
- Use real schematics—not Fritzing diagrams. Fritzing encourages wiring mistakes by hiding electrical reality. Switch to KiCad or even hand-drawn schematics showing actual pin numbers and voltage rails.
- Always include a current-limiting resistor—even for LEDs wired to 3.3V pins. The ATmega328P’s max output is 40mA per pin. One saturated LED can draw >20mA. A 220Ω resistor costs pennies and saves chips.
- Never share ground between high-current actuators (motors, relays) and sensitive sensors. Use separate ground planes or optoisolators. Ground loops cause wild analog noise—ask me about my “drunk accelerometer” phase.
- Version-control your hardware too. Snap photos of your physical setup *with timestamps*. Note board revisions, jumper positions, and sensor batch numbers in Git commit messages.
- Calculate power budgets early. A 9V battery *sounds* sufficient for a servo project until you measure peak draw at 1.2A… and realize your regulator overheats. Use Ohm’s Law—seriously.
Real Results: From Campus Labs to Internship Portfolios
Rahul, a final-year IT student at NIT Rourkela, built a Network Traffic Analyzer using an ESP32 and promiscuous-mode Wi-Fi sniffing. He didn’t stop at packet capture—he parsed DHCP handshake timing to detect rogue APs and visualized latency spikes on a local web dashboard. His GitHub repo included detailed threat-modeling notes and a comparison of WiFiScan vs. ESP-IDF WiFi Monitor Mode trade-offs. Four months after publishing it, he landed a cybersecurity internship at Cisco Bangalore—not because he knew C++, but because his ESP32 Core docs deep dive proved real systems fluency. His project? One of the top 5 most-starred arduino projects for it students on GitHub’s education index last quarter.
FAQs: Debugging Your Career Path
- What’s the absolute minimum gear needed to start?
- An Arduino Uno R3, a breadboard, 220Ω resistors, LEDs, push buttons, and jumper wires. Skip “starter kits” with vague components—build your own curated kit. Save money for a $20 logic analyzer later.
- Do I need advanced math for these projects?
- No—unless you’re doing real-time signal processing. Most projects need basic algebra and Boolean logic. Focus on understanding *why* your sensor returns 0–1023, not memorizing ADC equations.
- Can these replace formal coursework?
- No. But they make coursework stick. Students who build their own UART debuggers report 3x faster mastery of serial communication protocols versus lecture-only peers (per IEEE Education Society 2023 Survey).
- How do I document projects for my resume?
- Lead with impact: “Reduced false-positive alerts 72% by implementing adaptive threshold detection in Arduino-based motion sensor.” Link to code, schematics, and a 60-second demo video. Mention your About Us page if you want context on our educational approach.
- What’s the biggest mistake beginners make?
- Skipping the Privacy Policy when integrating cloud services. Never hardcode API keys. Always use platform-specific secrets managers—or better, local edge computation.
- Where should I ask questions when stuck?
- The Arduino Forum’s “Project Guidance” section has veteran responders who ban generic “it doesn’t work” posts. Read the forum guidelines *before* posting. And yes—we welcome your tough questions at Contact Us.
These arduino projects for it students aren’t about collecting badges—they’re about building intuition. Intuition for how electrons behave under load. Intuition for why “working” code fails under thermal stress. Intuition that turns “I hope this works” into “I know *exactly* where to probe next.” You’ll debug less, design more, and earn trust faster—for your professors, your internship team, and yourself.
So go on—burn out a pin. Take notes. Then burn out another one, smarter.